Patient Past Due Letters Procedure
Below are the steps for generating patient past due letters from the Patient Letters Account Balance Letters menu.
Note: The letters used during these routines can be set up in a variety of ways. For more information, contact NDS Technical Support.
This builds the workfile of patients who are past due with their payments and should receive a past due letter. You determine how old the patient balance is to receive a letter.
a. To select the Create Workfile click the following sequence:
1. Click Reports, from the INSight menu bar.
2. Click Patient Letters.
3. Click Account Balance Letters.
4. Click Create Workfile.
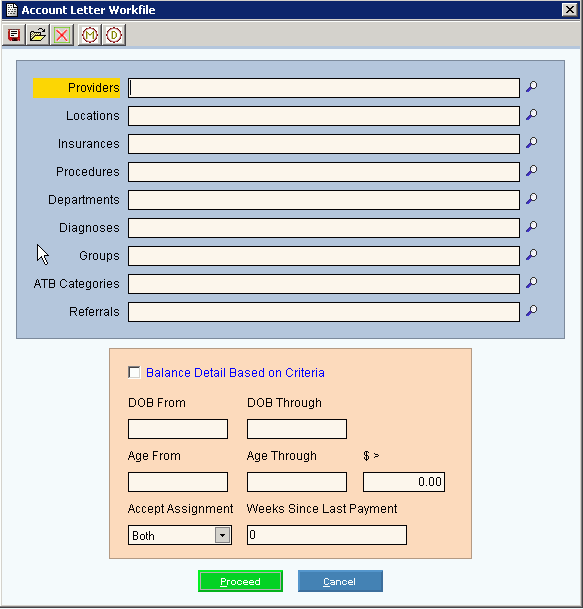
b. This is an example of the Create Workfile window:

c. Enter the following fields:
1. Specify the Providers, Locations and other.
2. If using the detail fields (shaded in pink) click to select Balance Detail Based on Criteria.
3. To include patient balances only (excluding charges out to Insurance), set accept assignment to No Only.
4. To only include patients who have not made a payment within a specific time period, enter the number of weeks since their last payment.
5. Click Proceed ![]() .
.
After the workfile is built, you can delete any patients that are in the workfile that you do not want to send a letter to.
Tip: To view a list of patients in the workfile, use the Search routine. To print the Search list, click the File menu, and then click Print.
a. To select the Workfile Maintenance click the following sequence:
1. Click Reports from the INSight menu bar.
2. Click Patient Letters.
3. Click Account Balance Letters.
4. Click Workfile Maintenance.
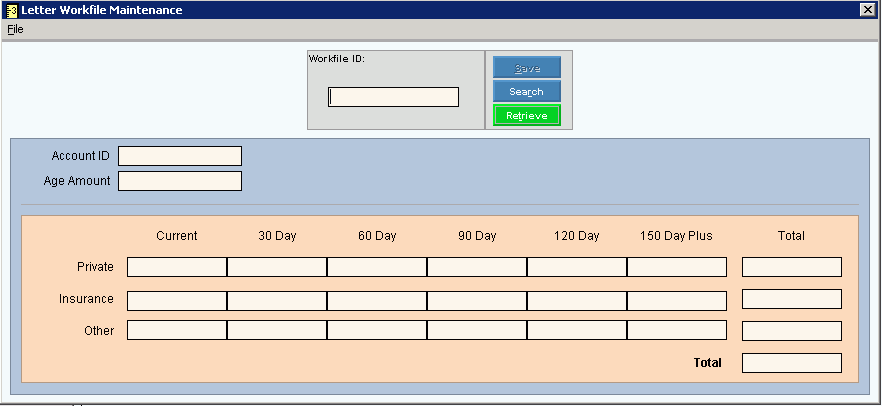
b. This is an example of the Workfile Maintenance window:

c. Enter the following fields:
1. Enter the appropriate patient account number as the Workfile ID.
2. Verify that this is the correct patient to remove from the workfile. Click File from the Workfile Maintenance menu bar.
3. Click Delete.
Note: You must have created a type of data merge letter to use during this routine. For more information, contact NDS Technical Support.
This routine prints the past due letters.
a. To select the Print Letters click the following sequence:
1. Click Reports from the INSight menu bar.
2. Click Patient Letters.
3. Click Account Balance Letters.
4. Click Print Letters.
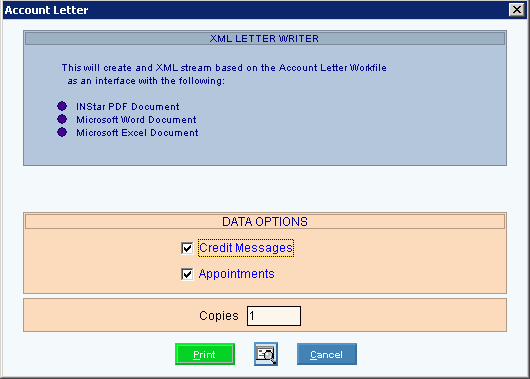
b. This is an example of the Print Letters window:

c. Enter the following fields:
1. Specify whether to include Credit messages, patient appointments, and the number of copies.
2. Click Print or click Print View.
3. From the Print Dialog window, select the appropriate Interface printer for this job.
4. Click Print ![]() .
.
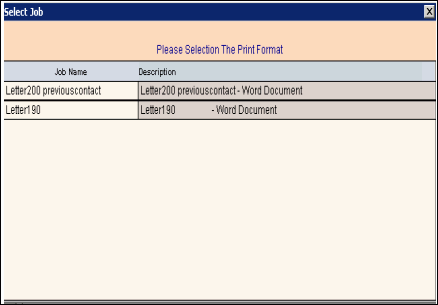
5. Next, the Select Job window displays, where you can browse for and select the appropriate letter. See the example below:

6. After the letter is selected, the Status Processing window displays the lines and pages created as it is filling the data fields and creating the letters.