 .
.Reporting Toolbar - Save Options
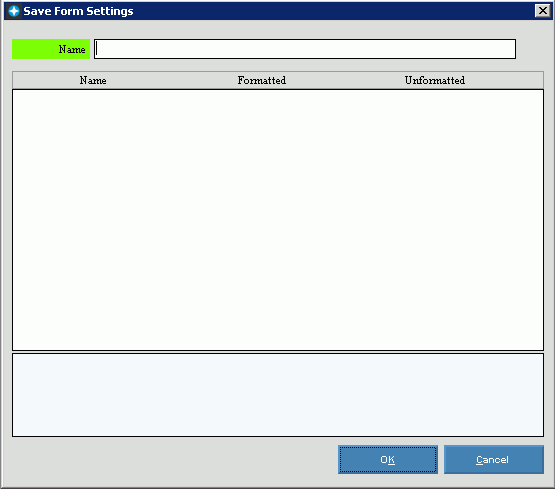
Use the Reporting Toolbar - Save Options button to save the displayed report options. You can assign a new Name to the options or replace an existing set of options. The table following the window example describes the Save Options button for the Reporting Toolbar.
To display the Save Options window for the Reporting Toolbar:
1. Select a menu option for a report.
2. Load existing report options or enter new report options at the report prompt.
3. Click Save
 .
.
Save Options Window Example:

Reporting Toolbar - Save Options Prompts
|
|
To create a new set of report options, enter the Name that identifies the report options you are saving. Or, to replace an existing set of report options, click the Name in the drop-down list. Tip: You can develop any naming convention you want. For example, you can describe the report options, or you can enter your own name. |
|
Prompt Fields |
The Prompt Fields Area lists fields that can vary with each report. For example, you might be prompted to enter a date range for the report. Tips:
|
|
To update the new or changed report options and return to the report prompt, click OK or press [ENTER]. Keyboard shortcut: [ALT + k] To return to the report prompt without
updating the report options, click Cancel
Keyboard shortcut: [ALT + c] |