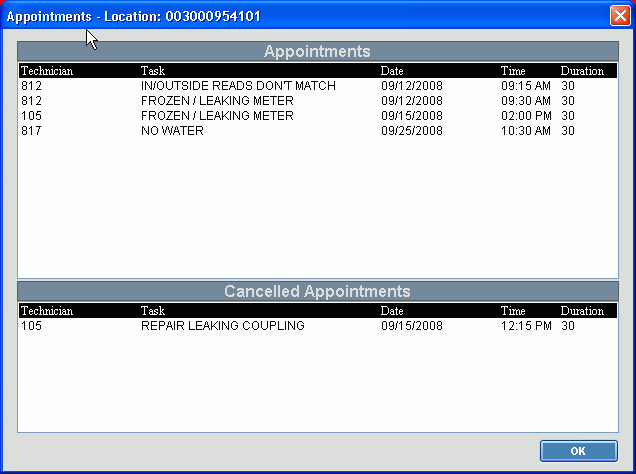
Scheduling - Location Appointments Window
Use the Location Appointments Window in Scheduling to view certain information about appointments. This includes both scheduled and cancelled appointments for the location. The Appointments Window has two main areas the Scheduled Appointments area and the Cancelled Appointments area.
1. Open Scheduling:
a. Click Service Management from the Menu Bar.
b. Click Daily Work.
c. Click Schedule.
2. Enter a Location ID.
3. Click Location Appointments ![]() .
.
Scheduling - Location Appointments Window Example:

|
Scheduling - Location Appointments Window Prompts Tip: To see more information about a field, click the hyperlink for the field name. |
|
|
Displays the unique identification for the location with the appointments. |
|
|
Scheduled Appointments Area |
|
|
Displays the Technician Code assigned to the appointment. |
|
|
Displays the Description of the task to be performed during the appointment. |
|
|
Displays the Date of the scheduled appointment. |
|
|
Displays the Start Time of the scheduled appointment. |
|
|
Displays the default length of time scheduled for the appointment. |
|
|
Cancelled Appointments Area |
|
|
Displays the Technician Code assigned to the cancelled appointment. |
|
|
Displays the Description of the task to be performed during the appointment. |
|
|
Displays the Date the cancelled appointment was originally scheduled for. |
|
|
Displays the Start Time the cancelled appointment was originally scheduled for. |
|
|
Displays the default length of time originally scheduled for the appointment. |
|
|
|
To close the window when you have finished viewing the appointments, click OK or press [ENTER]. |