Delete Employee Fringe Wizard
Use Delete Employee Fringe Wizard to permanently remove a fringe from an employee.
Directions:
To open:
1. Click Payroll from the menu.
2. Click Employee File Maintenance.
3. Click Fringe.
4. Click Delete
Employee Fringe.
Or, use the keyboard
shortcut: [ALT] [p] [e] [f]
[d].
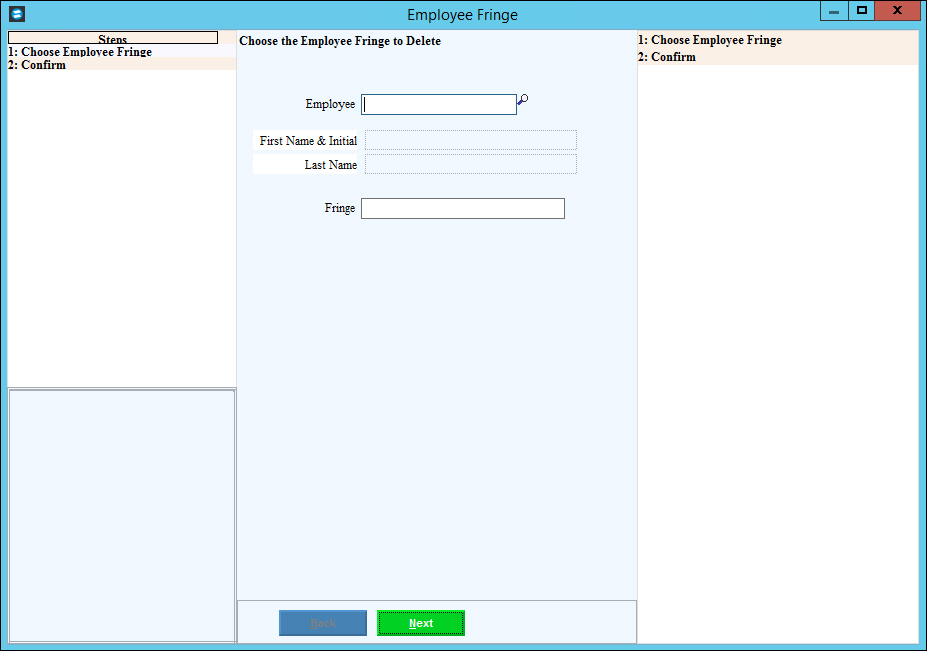
Delete Employee Fringe Wizard Window Example:

Delete Employee Fringe Wizard Prompts
To maintain data integrity, you cannot create fringes during this routine. To create an employee fringe, use the Employee Edit Fringe Wizard. To edit an employee fringe, use the Employee Edit Fringe Wizard. |
|
Enter an Employee Number. (up to 7 digits) Required Tip:
To
Search for a Employee Number, click Search
|
|
Employee Name |
Displays the employee's name for your reference:
|
Enter an assigned Fringe Number or click the Fringe Number from the drop-down list.. (3.0 numeric) |
|
|
To go to the next step, click Next. The following window displays. |
Confirm Delete Fringe Step
|
|
Verify that the Fringe ID displayed is the correct Fringe to remove from the employee. If it is not, then click Back to return to the Choose Employee Fringe step for another entry. |
|
|
If the Fringe ID displayed is not the correct fringe to remove, click Back to return to the Choose Employee Fringe step for another entry. |
|
To complete the deletion, click Finish, or press [ENTER]. Keyboard shortcut: [ALT + s] |
To avoid losing data, you must click Finish to complete the changes. |
|