Email Paychecks
Email provides an easy and convenient way to electronically send paycheck information to a group of employees or an individual employee. You can use email to send employees a previous paycheck. Emails are easily customized using the Template Builder and setting up email configurations is flexible allowing for multiple configurations as needed. You can see a history of the paychecks sent to a employee and their contents from the credit messages within Employee Maintenance. You can also use email from the Credit Message to send an employee a historical paycheck.
Notes:
To activate email, the email configuration must be set up and an email template must be built. For assistance, please contact NDS Support at 800-649-7754.
An employee must have an email address on their employee for paycheck stub information to be sent to them.
Directions:
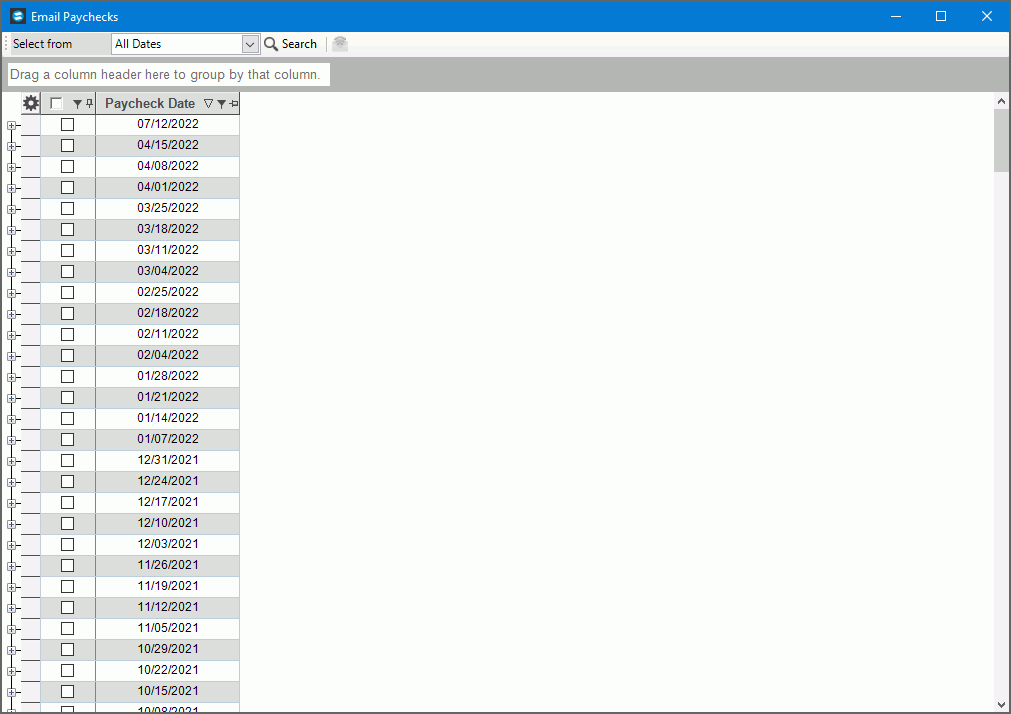
To display Email Paychecks, click Payroll from the menu, click Other Payroll Work and then click Email Paychecks.
Email Paychecks Window Example:

Email Paychecks Prompts
|
|
Select Paycheck Dates
|
Choose the date range for viewing paychecks by clicking the desired select from range.
After selecting the date
range, click Search |
Select Paychecks to Email After selecting
the date range, the paychecks display as shown below. To
see all checks for a specific date, click Plus
To select paychecks for multiple dates, click to select each date. To select paychecks for all dates, check the box to the left of the date. Tip: To email an individual paycheck, click Email on the desired line.
|
|
Email |
After
selecting the paychecks click Email
Or, to email an individual paycheck, click Email on the desired line. |
Send EmailThe
Send Email editor opens with the customer data filled in the fields.
Send Email has similar formatting functions as the Template
Editor.
|
|
Template |
Displays for your reference the type of email template used for the email. |
To |
If the employee has an email address associated with their account, it fills in the Send To address. Otherwise, you can enter an address in the To field. You can add multiple addresses in the Send To field by entering a semi-colon (;) between the addresses. And, you can remove Send To addresses as needed. |
Subject |
If a subject was entered, you can edit it, if needed. If there is no text in the subject line, enter one now. Required |
Body of Email |
The body of the email displays with employee information showing where data fields were inserted.
1. The text in the email can be edited and added to. To add text begin typing or paste text that was copied. Formatting toolbar shown below offers tools for formatting the email as needed. Send Email Toolbar
2.
To insert an image, click Picture 3.
To insert a hyperlink, click Hyperlink 4.
To add an attachment to include with the email, click Add Attachment |
Send Emails
|
To send
the email, click Send Email
If the displayed email address is accurate, click Yes to continue or to cancel, click No. When the send completes, the message Success! displays. Click OK to close the prompt. |