Patient Collections Letters Procedure
Follow the steps below to generate patient collections letters and track collection activity. These steps outline how to generate the patient collection letters for the appropriate patients, how to maintain patient information about their collection follow-up and then to run a second mailing for the patients who do not respond to the first mailing. Keeping collection activity in your practice or office results in more money coming into your practice without sacrificing a percentage of the money to a collection agency.
Note: While there are several ways to create collection letters, this procedure outlines how to use a Microsoft® Word document. For more information on setting up the collection letters, contact NDS Support.
This builds the workfile of patients to receive a collection letter based on the criteria you enter.
a. To select the Create Workfile click the following sequence:
1. Click Reports from the Menu Bar.
2. Click Patient Letters.
3. Click Account Balance Letters.
4. Click Create Workfile.
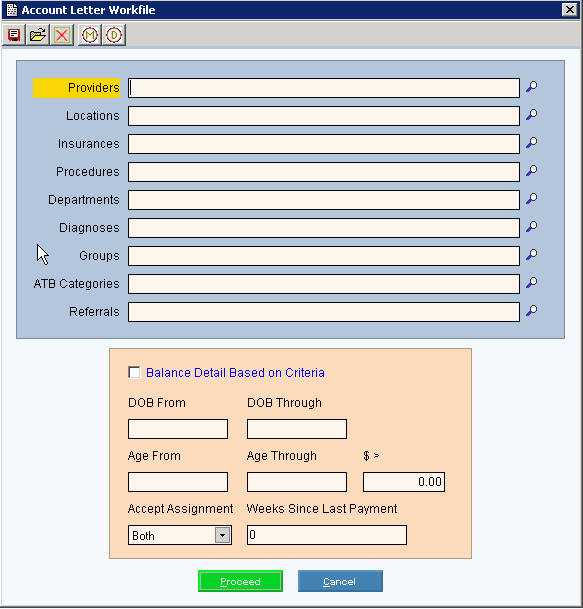
b. This is an example of the Create
Workfile window:

c. Enter the following fields:
1. Age 60 – 500 to include patients with balances 60 days or older
2. Specify the dollar amount the patient's balance must be greater than to be considered, if applicable
3. Enter the number of Weeks that have elapsed since the date of the patient's last payment
After the workfile is built, remove patients from the Workfile who should not receive a collection letter.
a. To select the Workfile Maintenance click the following sequence:
1. Click Reports from the Menu Bar.
2. Click Patient Letters.
3. Click Account Balance Letters.
4. Click Workfile Maintenance.
b. This is an example of the Workfile
Maintenance window:
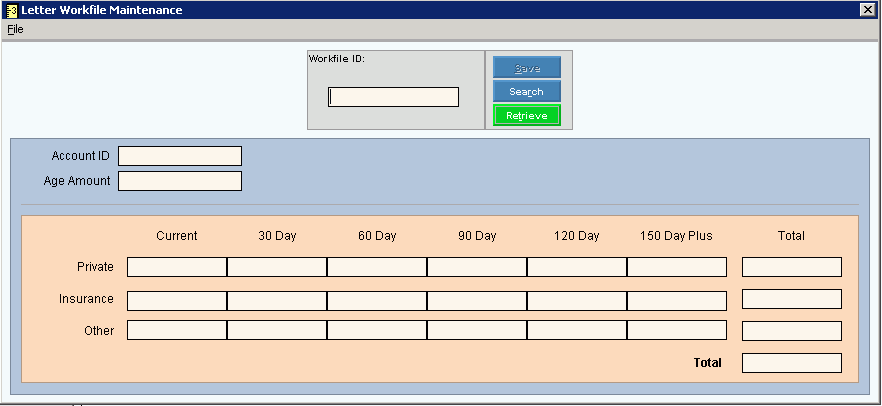
c. Enter the following fields:
1. Enter the appropriate patient account number as the Workfile ID.
2. Verify that this is the correct patient to remove from the workfile, then click File from the Workfile Maintenance menu bar.
3. Click Delete.
This routine prints the collections letters using a Microsoft Word template called Letter1.dot.
a. To select the Print Letters click the following sequence:
1. Click Reports from the Menu Bar.
2. Click Patient Letters.
3. Click Account Balance Letters.
4. Click Print Letters.
b. This is an example of the Print
Letters window:
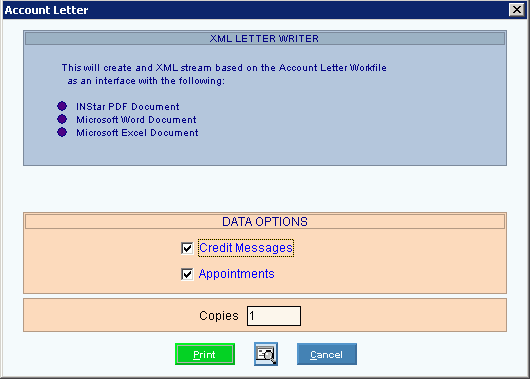
c. Enter the following fields:
1. Specify whether to include patient Credit Messages, patient appointments, and the number of copies.
2. Click Print
![]() .
.
3. The Print Dialog window displays
for you to select the appropriate interface printer for this job. See
the example below:
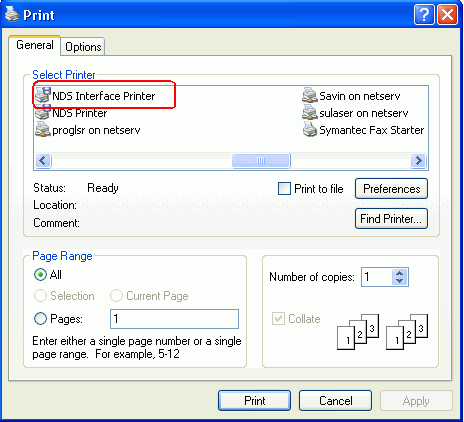
4. Click Print
![]() .
.
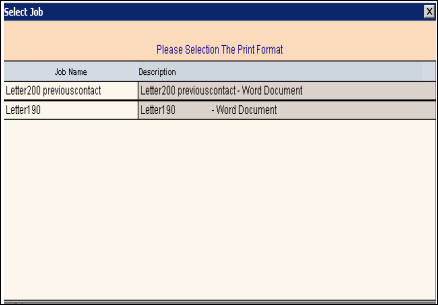
5. Next the Select Job window displays
where you can click to select the appropriate collections form letter.
See the example below:
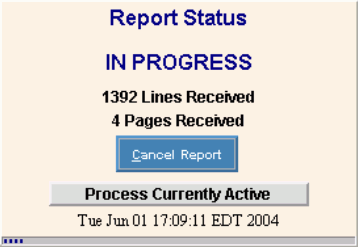
6. After the form letter is selected,
the Status Processing window displays the lines and pages created as it
is filling the bookmarked fields and creating the letters.
Note: For information about printing patient labels, see Patient Mailing Labels Procedure.
a. Enter payments to the patient's accounts as you receive their payments.
b. If the patient contacts your office to discuss their overdue balance you can track that information and flag their account. To indicate that a patient has contacted your office about their overdue balance you can maintain PD in the Comment 3 field during the Balance Detail window of Patient Entry.
If patients have not made a payment nor have they contacted your office about their overdue balance you can print a second collection letter to alert these patients. Patients will not receive a second collection letter if they meet two conditions:
a. They have made a recent payment.
b. Their account is flagged that they have made contact with the office. See Step 5 above.
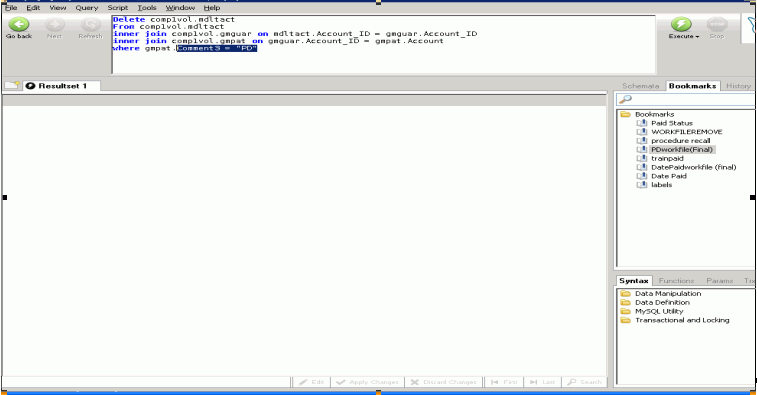
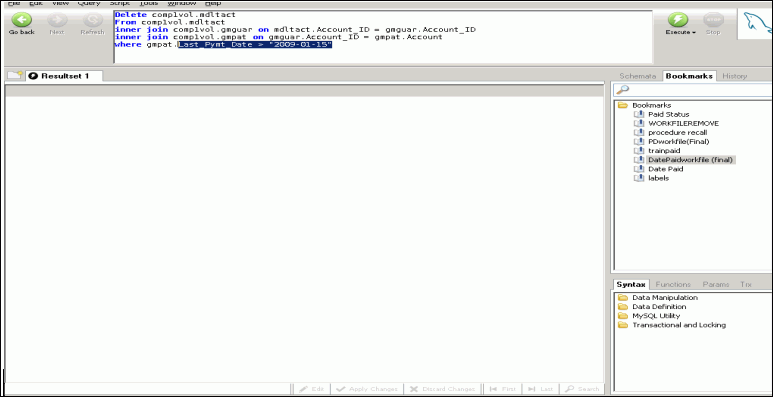
Using a Query Browser (from your desktop) run two bookmark statements to remove the patients from the workfile who have paid or contacted your office. All other patients will remain in the workfile to receive their second letter.
Bookmark Statements to run. See examples below:
a. Pdworkfile(FINAL)
b. DatePaidWorkfile(FINAL)
Print a second letter using a Microsoft Word template called letter2.dot
and follow the steps outlined in Part A, Steps 3-5.
Note: For more information, see Patient Mailing Labels Procedure.