Fixed Assets Depreciation History Report Instructions
Use the Fixed Assets Depreciation History Report to view and print detailed GL history and depreciation taken for assets for a selected time period. This report provides a way to see and print history detail at any time.
Tips:
For more information about running reports, see Print View.
For more information about the buttons on the toolbar, see the Report Writer Toolbar.
To see an example of the report, click Fixed Assets Depreciation History Report Sample.
Directions:
1. Click Fixed Assets from the Menu.
2. Click Reports.
3. Click Depreciation History Report.
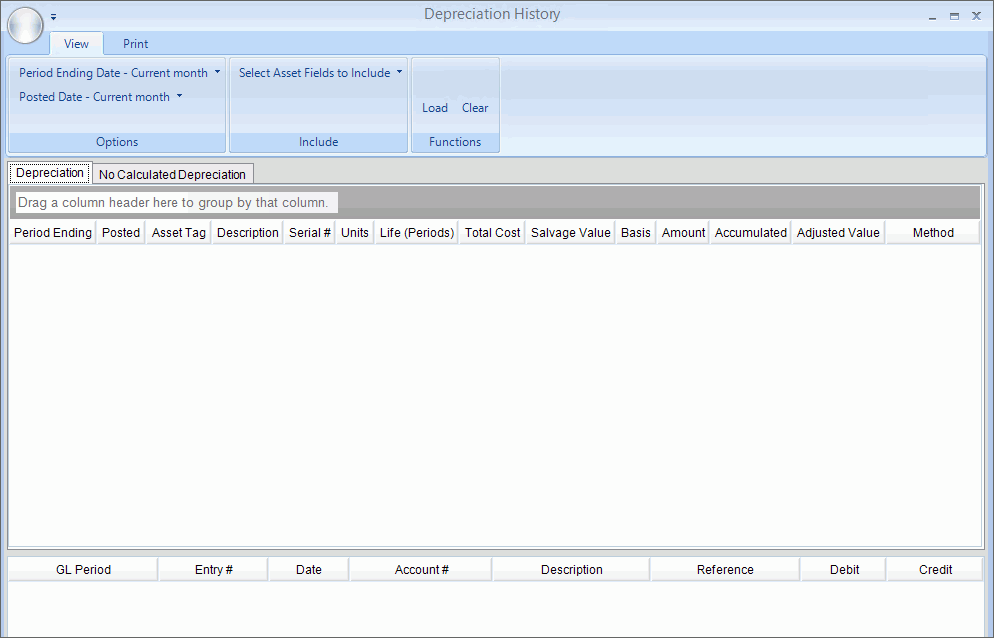
Asset Depreciation History Report Window Example:

Asset Depreciation History Report Prompts
|
|
View The View tab opens when the report is selected. |
|
Period Ending Date Posted Date |
To report the asset depreciation history for a specific time period, you can choose period ending date or posted date. Both options provide the same date range options. Simply click either Period Ending Date or Posted Date drop-down list to view the range choices.
|
Select Asset Fields to include |
To select additional asset information to include on the report, click Select Asset Fields to include. The following choices display. To select a field to include on the report, click to check the desired boxes and then close the window. Or, to quickly select all fields, click Select.
|
|
To load the depreciation history to report, click Load. Or, to clear the report choices, click
Clear |
Print To open the Print tab to print the report, click Print. The following screen displays:
|
|
|
To display the Depreciation History report writer window, click Print. The following screen displays:
|
Report Writer Steps |
1. If you want to use
existing report settings, click Open
2. If you want to save
the current report settings, click Save
3. To generate the report:
Tip: For more information, refer to the Report Writer - Overview. |