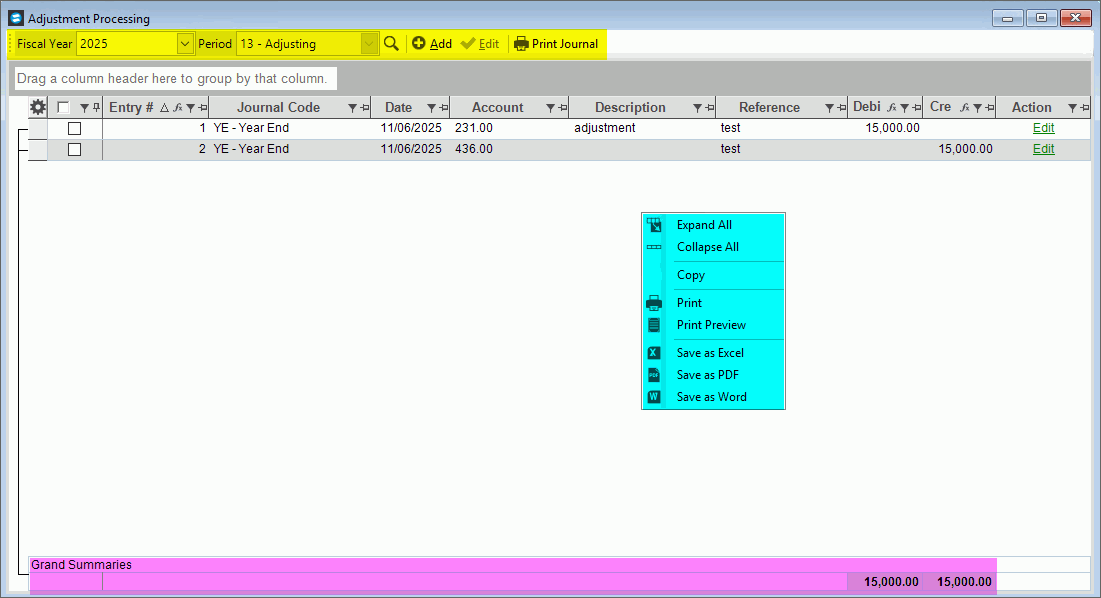
Adjustments Processing
Use the Adjustments Processing to enter year-end adjusting journal entries for the General Ledger and post entries to the accounts. All entries are automatically posted with a journal code of YE to period 13 or period 14, depending on your setup. Standard, recurring and step-down allocations are not available in Year End Adjustments Processing.
Tip: For information about the sequence of running the Year-End steps, refer to the General Ledger Runbook.
Directions:
To open from the Year End menu, select Adjustments Processing.
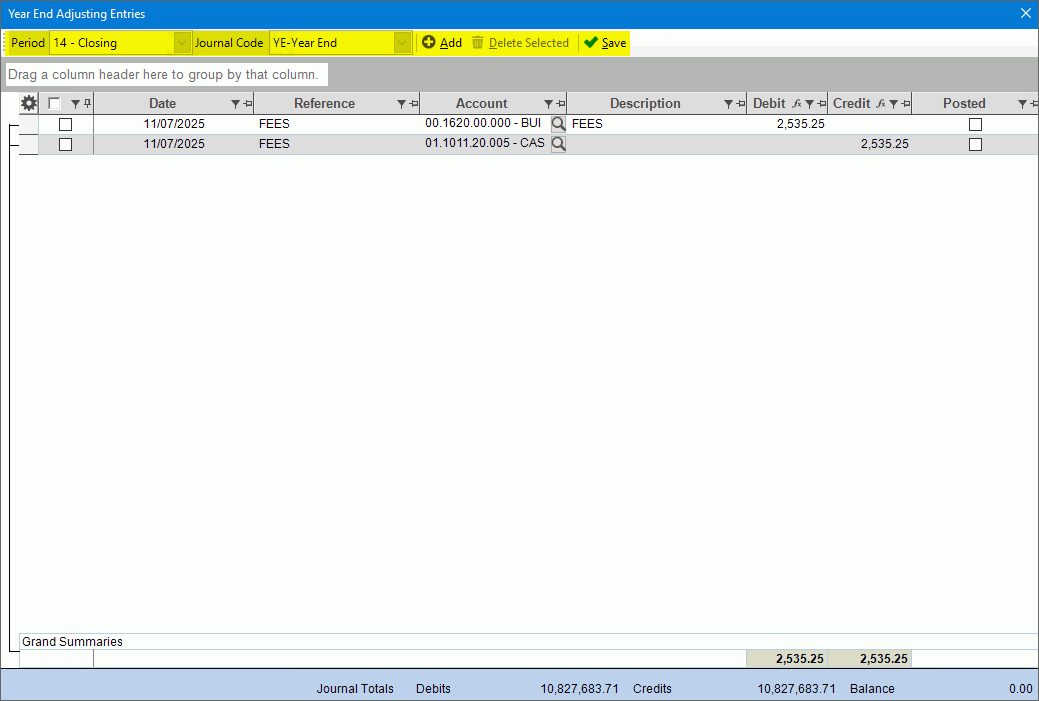
Adjustments Processing Window Example:
Year End Adjustments Processing Prompts
|
|
Fiscal Year |
Select the fiscal year for the adjusting entries. |
Period
|
Period 14 displays as the period to which year end adjusting entries will be made. This can't be changed. |
Add
To add entries, click Add. The following screen displays.
1. Enter a date for the Entry Date. 2. Enter a reference. 3. Enter the account number or click Search to find it. 4. Enter the description for the entry. 5. Enter the amount either in the debit or credit column. 6. Press tab to a new line. 7. Continue entering the debit and credit entries until the debit and credit amounts balance so that the Journal Balance is zero (0.00). Then, the entries are complete. 8.
When you have finished making entries and the entries balance,
click Save
and then click
X
|
|
Editing
Journal Entries |
To change unposted adjusting journal entries: 1. To edit a transaction,
double-click the row in the Transaction List. The Enter
Manual Transactions screen displays. To edit multiple transactions,
click to check the box in the desired rows and then click Edit 2. Make the changes to the transaction following the directions for entering above. 3. Click Save
4. Repeat for other transactions within the journal entry. 5. When the debits and
credits balance to zero so that the Journal Balance is 0.00, the
entries are complete. Click X
|
Deleting
Journal Entries |
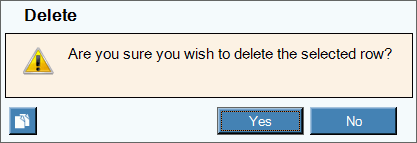
Only entries that have not been posted can be deleted. To delete transactions for an unposted journal entry: 1. To display the transaction to delete, click to highlight the row in the Transaction List. The Enter Manual Transactions screen displays. 2. Click the transaction(s) to delete. Multiple transactions can be selected by checking the box on the desired rows. 3. Click Delete
|
Print Adjustments Journal Use the Print Journal to generate a adjusting entries list for period 13. You can select if you want to see posted or unposted transactions. To run the journal, click Print Journal. The following screen displays.
|
|
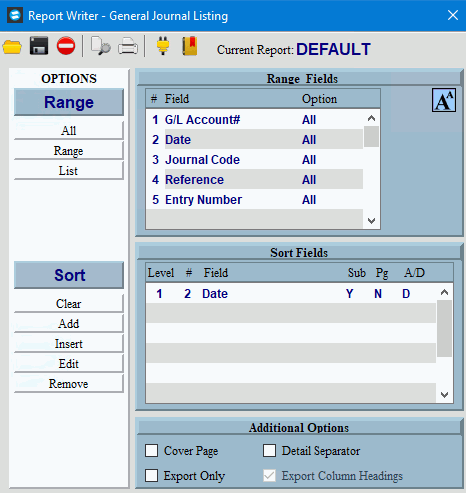
Report Writer Directions |
Tip: For more information, refer to the Report Writer - Overview. 1. If you want to use
existing report settings, click Open
2. If you want to save
the current report settings, click Save
3. To generate the report:
Tip: For more information, refer to the Report Writer - Overview. |
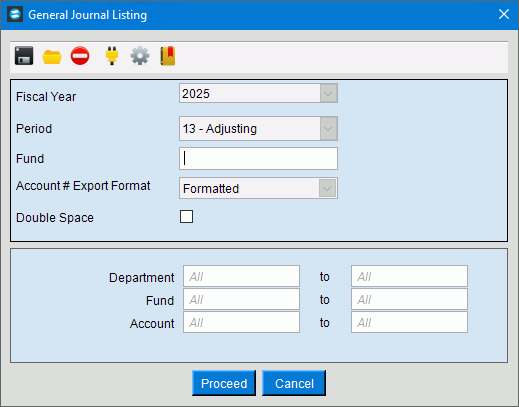
Journal Options Window: Tip: This appears after the Report Writer prompts.
|
|
Fiscal Year |
Select the fiscal year for the adjustment entries. |
Period 13 displays as the period to report. |
|
Funds |
All funds are selected. |
Account # Export Format |
This option is not available for the Adjustments journal. |
Double Space |
To double space lines on the report, check this box. Or, to generate the report with single spaced lines, leave this box unchecked. |
Account # Suffix |
To select ranges of account numbers by the account element, click Element Range. Note: You will see the Element Range Prompt described below. |
Element Range Options This area displays a list of the Elements defined for the Account Number. The list of Elements varies according to the settings for your facility. You can select accounts to print on the report by entering ranges of Elements. |
|
Account Element Range |
To select ranges of account numbers by the account element, enter the From and To options to enter a starting and ending element range. Note: In the example above the element range is Fund, Location and Account Number. The list of elements varies according to the settings for your organization. You can select accounts to be reported by entering ranges of elements. |
|
To generate the report, click Proceed or press [ENTER]. Keyboard shortcut: [ALT + p] Tip: The report is sent to either the printer or the Print View window, depending on the option you selected at the Report Writer prompt. For more information, refer to the Report Writer - Additional Options. |


 .
.