Rate Modeling Simple Detail Analysis Report Instructions
Use the Rate Modeling Simple Detail Analysis Report to provide a comparison between actual Transaction Code revenue and potential Transaction Code revenue. This report can be used to provide information on proposed rate changes. For each transaction code within each company, customers are grouped by New, Current and Final with the actual usage for each step, the rate and the revenue are being reported. Additionally, the estimated revenue is presented based on the usage and proposed rate models that are maintained during Model Rate Table Maintenance.
Tips:
For more information about running reports, see Print View.
For more information about the buttons on the toolbar, see the Reporting Toolbar.
To see an example of the report, click Rate Modeling Simple Detail Analysis Report Sample.
To open click Analysis from
the menu. Then click
Rate Modeling and click Simple Detail Analysis.
Tip: Or, use the keyboard
shortcut: [ALT] [s] [m] [d].
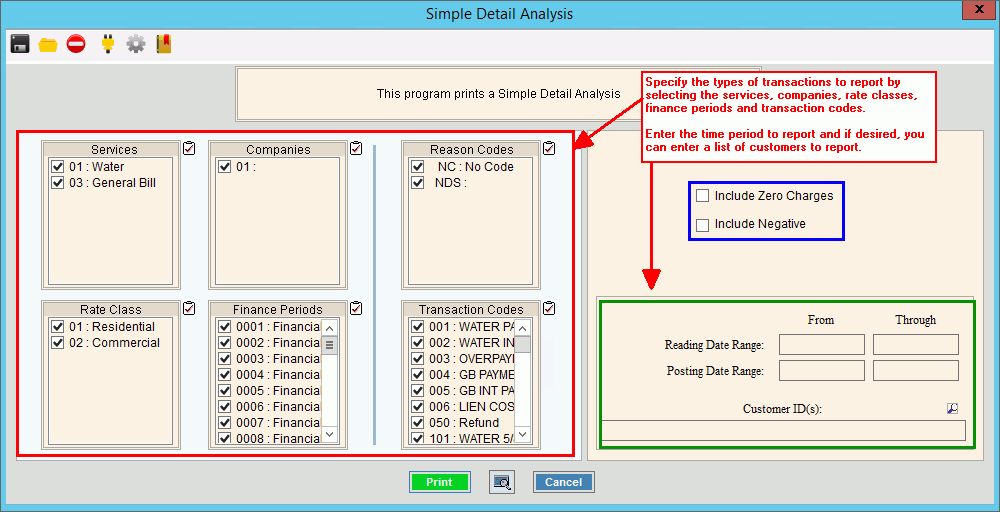
Rate Modeling Simple Detail Analysis Report Window Example:

Rate Modeling Simple Detail Analysis Report Prompts
|
|
To select the Services to print, click to check the appropriate Services listed. Tip:
To quickly select or de-select
all Services listed,
click Check All |
|
To select the Companies to print, click to check the appropriate Companies listed. Tip:
To quickly select or de-select
all Companies listed,
click Check All |
|
To select the Reason Codes to print, click to check the appropriate Reason Codes listed. Tip:
To quickly select or de-select
all Reason Codes listed,
click Check All |
|
To select the Rate Classes to print, click to check the appropriate Rate Classes listed. Tip:
To quickly select or de-select
all Rate Classes listed,
click Check All |
|
To select the Finance Periods to print, click to check the appropriate Finance Periods listed. Tip:
To quickly select or de-select
all Finance Periods listed,
click Check All |
|
To select the Transaction Codes to print, click to check the appropriate Transaction Codes listed. Tip:
To quickly select or de-select
all Transaction Codes
listed, click Check All
|
|
Note: The parameters Include Zero Charges & Include Negative are used in conjunction with each other to include or exclude certain types of transactions. |
|
Include Zero Charges Include Negative |
To use Include Zero Charges and Include Negative do the following:
|
Reading Date Range |
To limit the report to a range of Reading Dates, enter the appropriate beginning Reading Date in the range. Note: You must maintain either a Reading Date range or a Posting Date range for the report. |
Through |
To limit the report to a range of Reading Dates, enter the appropriate ending Reading Date in the range. Note: You must maintain either a Reading Date range or a Posting Date range for the report. |
Posting
Date Range |
To limit the report to a range of Posting Dates, enter the appropriate beginning Posting Date in the range. Note: You must maintain either a Reading Date range or a Posting Date range for the report. |
Through |
To limit the report to a range of Posting Dates, enter the appropriate ending Posting Date in the range. Note: You must maintain either a Reading Date range or a Posting Date range for the report. |
Entry Options:
|
|
|
To begin printing to the Windows® default printer, click Print, or press [ENTER]. Keyboard shortcut: [ALT + p] Or, to print to the Print
View window, click Print
View Or, to escape from the print routine,
click Cancel Keyboard shortcut: [ALT + c] |