Fringe Distribution Edit List Instructions
Use the Fringe Distribution Edit List to list fringes that you are preparing to post into the Vendor Invoices and Checks files and to detect errors.
Notes:
IMPORTANT: If there are employees with Department Numbers missing from the Auto Fringe Distribution cross-reference, the Payroll Post uses the invalid Department Number 99999999. You must make the following corrections before running the Fringe Distribution Post:
You must correct all 99999999 Department Numbers in Employee Fringe Maintenance before running the Fringe Distribution Post.
You must correct Auto Fringe Distribution Maintenance before the next payroll run.
Do not confuse this report with the Retirement Fringe Journal.
For more information, see the following topics:
To see information about the timing for running the fringe programs, see the Payroll Runbook.
To see an example of the report, click Fringe Distribution Edit List Sample.
Directions:
To open click Payroll
from the Menu. Then,
click Other Payroll Work,
click Fringe Distribution and
Fringe Distribution Edit List.
Or, use the keyboard
shortcut: [ALT] [p] [o] [f]
[l].
Fringe Distribution Edit List Window Example:
Fringe Distribution Edit List Options
|
|
Report Writer Range & Sort |
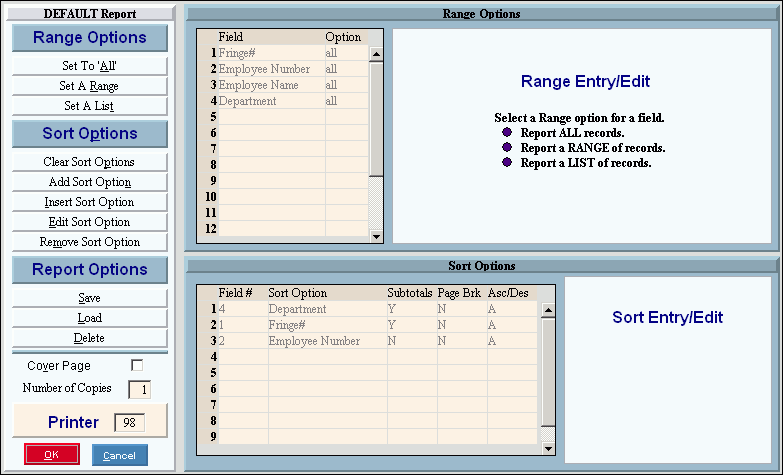
You can make changes to the Report Writer range and sort as needed. For more information on changing the range or sort options, see Report Writer Overview. |
Additional Options |
To include a cover page, check the Cover Page box. To include a detail separator, click to check the Detail Separator box. To omit the detail separator, leave the box unchecked. To only export the report, check the Export Only box. See the Export Only Step below for instructions. If you select Export Only, select Export Column Headings if you want to include column headings in the Excel file. |
|
To generate the report, click Print, or press [ENTER]. Keyboard shortcut: [ALT + p] To print to the Print
View window, click Print
View To escape from the print
routine, click Close |
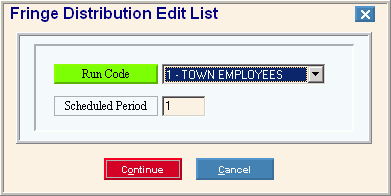
After selecting Print or Print View, the following options are displayed.
|
|
To specify the Run Code, click one of the options in the drop-down list. Tip: To specify all Run Codes, click ALL. |
|
Enter the Scheduled Period Number specified for the Payroll Run. (1 - 6) |
|
|
To generate the report, click Continue. Keyboard shortcut: [ALT + o] To escape from the print routine, click
Cancel Keyboard shortcut: [ALT + c] |



 .
.

 .
.