Use the Export GL Journal File routine to export the GL journal entries
for the selected periods to an Export file. The exported journal
entries are generally used for a specified General Ledger system. There
are different export formats for each of the General Ledger systems. The
export formats and the attributes of the export files are specified during
Export Control Maintenance.
2. Click Exports.
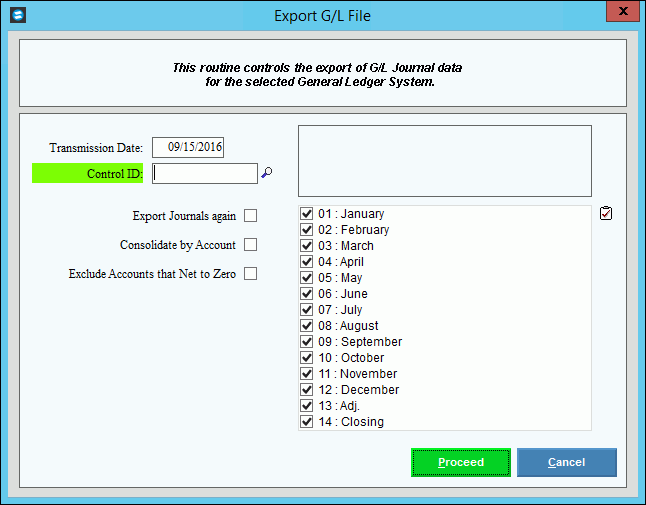
Export G/L Journal
File Prompt Options
|
Transmission Date |
Today's date displays as the Transmission
Date. You can enter a different date as the Transmission
date, if desired. (mmddyy, slashes
not necessary) |
|
Enter the defined Export Control
ID that will be used to control the G/L Journal export.
Tip:
To search for the Control ID, click Search
 or press [Ctrl
+ f]. or press [Ctrl
+ f]. |
Export Journals Again |
To export the selected journals again,
click to check the Export Journals
Again box.
To omit exporting the journals
again, leave this box unchecked. |
Consolidate by Account |
To consolidate entries by account,
click to check the Consolidate
by Account box.
To omit consolidating entries
by account, leave this box unchecked. |
Exclude Accounts that Net to Zero |
To exclude from the export accounts
with entries that net to zero, click to check the Exclude
Accounts that Net to Zero box.
To include all accounts regardless
of whether the entries net to zero, leave this box unchecked. |
|
To select the journal periods to
export, click to check the appropriate periods listed.
Tip: To
quickly select
or de-select
all Journal Periods
listed, click the  Check All icon. Check All icon. |

|
To run the routine, click Proceed,
or press [ENTER].
Keyboard shortcut: [ALT + p]
Or to escape from the routine, click
Cancel  . .
Keyboard shortcut: [ALT
+ c]
Tip:
Or, click Close
 . . |
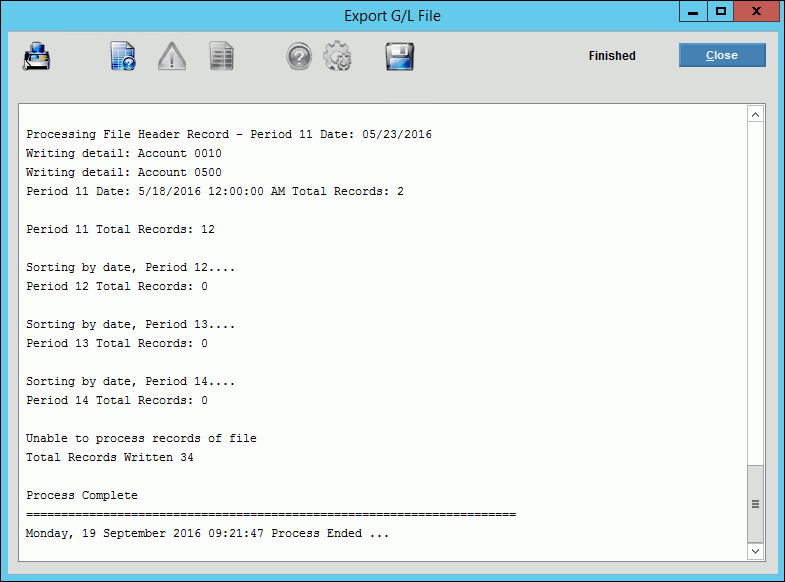
Export File Processing
Note: As
the Export processes, various messages display in the Export GL
Journal File Window as seen below. When the Export file
is created, the following functions are available.

|

|
To view all the Export processing
messages, click View Messages. |

|
To send the Export GL Journal File
Messages report to a printer, click Print
 . .
Tip:
You will then see the Windows™
Print dialog window for your default printer. |

|
You can freeze
the Export GL Journal File Messages report by saving it to a file.
Directions:
1. Click Save
As Text  .
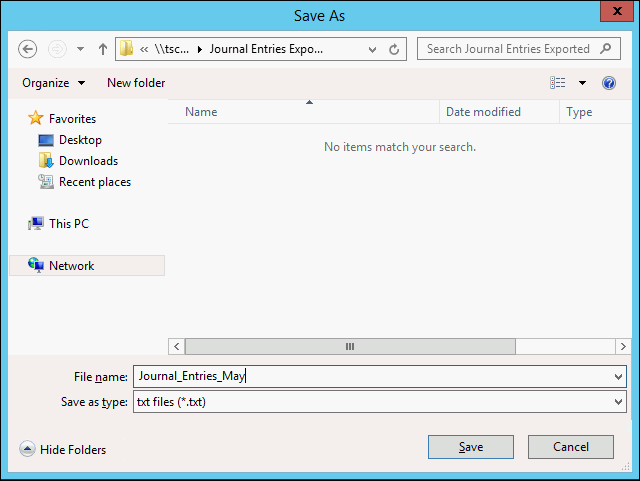
The Windows Save As screen displays. .
The Windows Save As screen displays.

2. Follow the normal Windows™ save procedure:
|

|
To close the window when finished,
click Close. |
 function. Then, select Save Excel
  .
.


