Click
Next ![]() until you reach the fields you want.
until you reach the fields you want.
Click
Add ![]() at the Add Location Step.
at the Add Location Step.
Create Customer Add Existing Location Step Window
Use the Create Customer Add Existing Location Step Window to add an existing location to the customer's account. The table following the window example describes the Add Existing Location Step Window for Create Customer Wizard.
Tips:
For general information about using wizards, see the Wizard - Introduction.
For more information about working with data in fields, see the Data Entry Guidelines.
To display the Create Customer Add Existing Location Step window in the Data Entry Panel:
1. Click the Wizard Control Menu.
2. Click Create.
3. Click Customer.
4. To navigate to the step that you want to maintain:
Click
Next ![]() until you reach the fields you want.
until you reach the fields you want.
Click
Add ![]() at the Add Location Step.
at the Add Location Step.
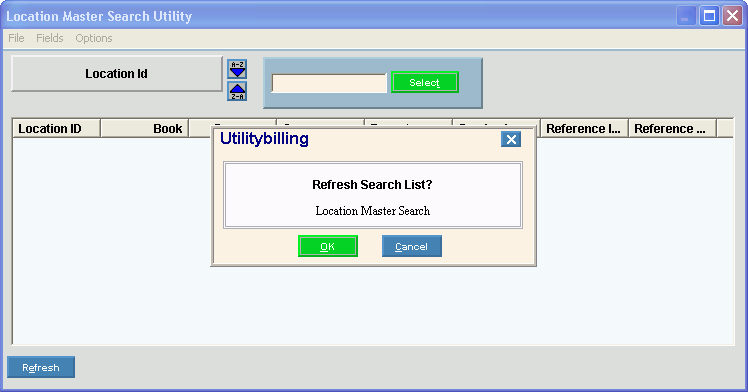
Create Customer Add Existing Location Step Search Window Example:
Note: The Refresh Search List? prompt only displays the first time the search is launched during the session.

Add Existing Location Search Prompts
|
|
|
To refresh the location search window, click OK. From the Search list you can select the location to be assigned to the customer. Keyboard shortcut: [ALT + o] Note: The Refresh Search List? prompt only displays the first time the search is launched during the session. |
|
To select the location to assign to the customer, click to highlight the appropriate location from the search list, then click Select or Double-click. Keyboard shortcut: [ALT + t] |
|
To close the Location Search Window if the desired location does not exist, click Close. |
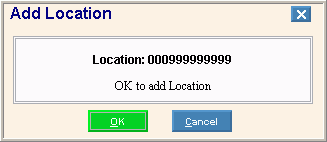
If the selected Location is not attached to another customer, the following window displays:
Add Location Window Example:

Add Existing Location Search Prompts Tip: To see more information about a field, click the hyperlink for the field name. |
|
|
To complete your entries if this the correct location to assign to the customer, click OK. Keyboard shortcut: [ALT + o] |
|
To prevent the location from being added to the customer, click Cancel. Keyboard shortcut: [ALT + c] |
Note: After clicking OK, the wizard returns to the Create Customer Location Step 1 window for you to finish your entries. |
|
|
To complete your location entries, after you verify your entries in the Inquiry Panel, click Finish. The data for every step is validated and saved, then the Wizard window closes. Keyboard shortcut: [ALT + s] |
|
|
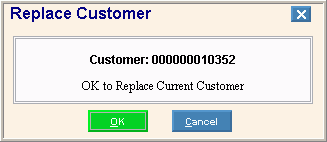
If the selected location is currently attached to another customer, the following window displays:
Replace Customer at Location Window Example:

Replace Customer Window Prompts Tip: To see more information about a field, click the hyperlink for the field name. |
|
|
To refresh the location search window, click OK. From the Search list you can select the location to be assigned to the customer. Keyboard shortcut: [ALT + o] Note: The Refresh Search List? prompt only displays the first time the search is launched during the session. |
|
To select the location to assign to the customer, click to highlight the appropriate location from the search list, then click Select or Double-click. Keyboard shortcut: [ALT + t] |
|
To close the Location Search Window if the desired location does not exist, click Close. |