 .
.Or, select Tools --> Wizards --> Add/Change Location Owner.
Add/Change Location Owner Wizard
Use the Add/Change Location Owner Wizard to add or change the owner of a location. The new owner is the default customer account responsible for billing charges at the location. Using this wizard you can create a new customer to add as an owner or add an existing customer as the owner of the location.
Notes:
The Customer that you assign as the new owner must have the appropriate services enabled.
In addition to changing the location owner, there may be other steps to complete the change in location ownership.
To add or change an owner at a location:
1. From the Inquiry, load the location for which to add or change the owner.
2. Open the Add/Change Location Owner wizard.
a. From the Location
view of the Enhanced
Inquiry, click Change Owner  .
.
Or, select Tools --> Wizards -->
Add/Change Location Owner.
b. Or, from the Wizards menu of the Classic Inquiry, select Add/Change Location Owner.
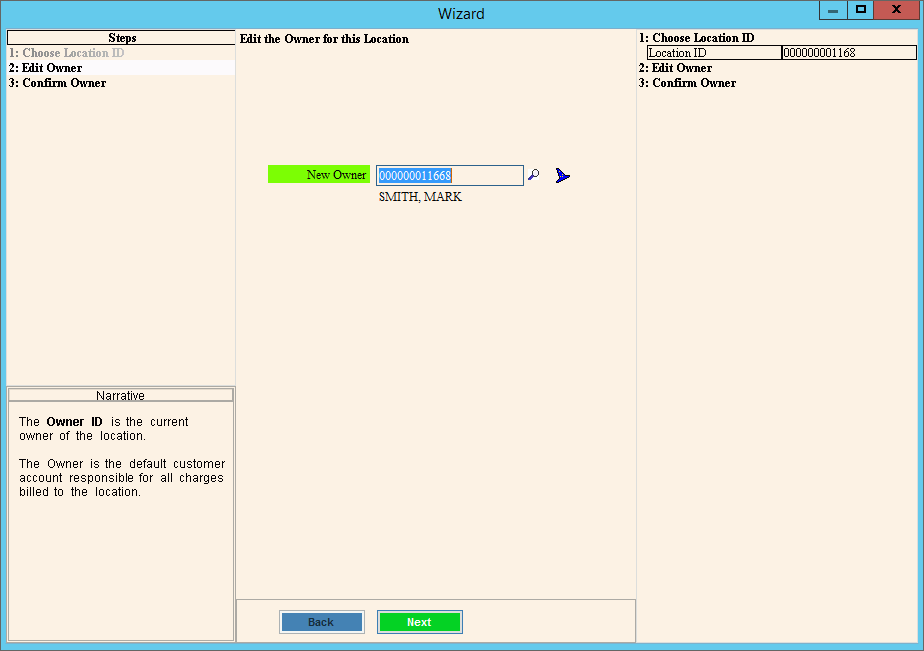
Add/Change Location Owner Wizard Example

Field Details by Panel |
|
If there is currently an owner at the location, the owner displays in the Owner ID field.
|
|
Create Customer for Owner
|
|
You can use the system generated customer ID for the new owner or you can enter another ID. The new owner is the default customer account responsible for the billing charges at the location. Click Next to continue. |
|
Enter Owner Information
|
|
|
Add the owner name and phone number information. For details see the Create Customer Step 2. Then, click Next. |
Owner Address
|
|
|
Enter the owner billing address. For details on entering information, see Create Customer Step 3. Then, click Next. |
Add Messages
|
|
|
Enter messages if applicable. For details on entering information, see Create Customer Step 4. Then, click Next. |
Add Owner Services
|
|
|
Click to select the service to set up. After selecting the service, the wizard automatically moves to the next screen. Important: If you skip setting up a service, it will not be billed. |
Add Service Information
|
|
|
Enter the appropriate services information. For details on entering information, see Create Customer Step 6. Then, click Next. |
Add Services Information Screen 2
|
|
|
Continue entering services information. For details on entering information, see Create Customer Step 7. Then, click Next to continue. |
Services Information Screen 3
|
|
|
Finish entering services information for the owner. For details on entering information, see Create Customer Step 8. Then, click Finish to complete the service setup. |
Add Additional Services
|
|
|
If there are additional services to set up, click to select the next service. Repeat adding services until all services are set up. When all services are set up, click Finish to move to the next step. |
Finish Create Customer for Owner Step
|
|
|
The new Owner ID displays for your confirmation. Click Next to continue to the next step. |
Confirm Owner Change StepAdding an Owner at Location Example
|
|
|
The Current Owner field will display the old owner to be replaced. The New Owner should show the owner that was just created or the existing owner that you specified. Click Finish to complete the change. |