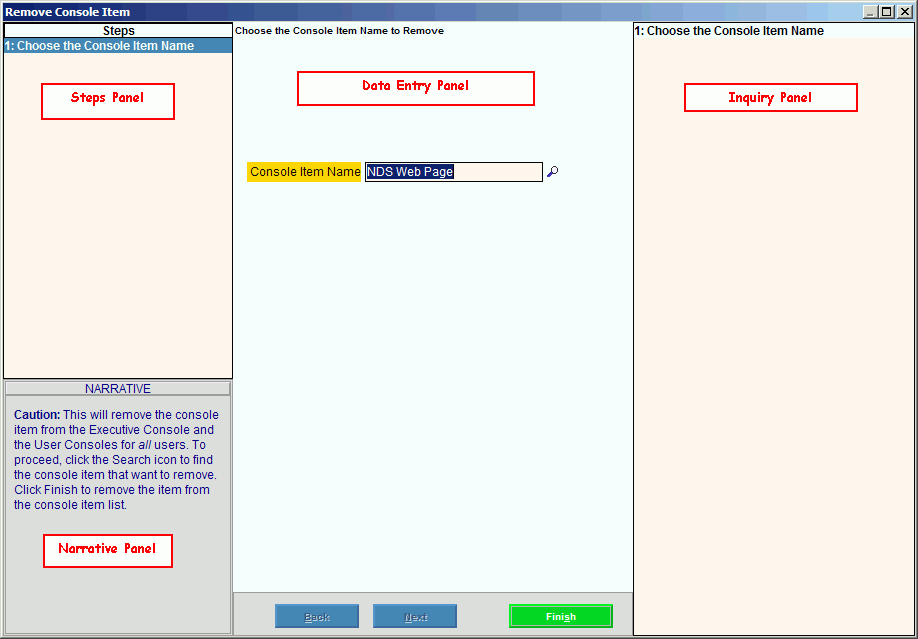
Opening the Remove Console Item Wizard, click More.
1. Click Console from the Menu Bar.
2. Click Wizards.
3. Click
Remove Console Item.
Or, use the keyboard shortcut: [ALT] [c] [z]
[r].
Edit Console Item Wizard Window Example:
Tip:
To see
general instructions for each panel in the example below, the cursor becomes
a hand  when you position the cursor over the field or panel.
Click once
to display the associated topic.

Adding a new Console Item, click More.
 Note: This
wizard only removes console items. To
add a new console item, use the Add
Console Item Wizard.
Editing an existing Console Item, click More.
 Note: This
wizard only removes console items. To
edit an existing console item, use the Edit
Console Item Wizard.
Removing an existing Console Item, click More.
1. Open the Remove Console Item Wizard. The first step displays in the Data Entry Panel.
2. To
load the console item that you want to remove, enter the Console
Item Name in the Data Entry Panel.
Tip: To
Search for a console item, click Search
![]() .
.
3. To
remove the record, click Finish  , or press [ENTER].
Keyboard shortcut: [ALT
+ s]
Understanding the field values for the following panels, click the panel name in the table below: