.
. Note: If Location displays instead of Site, click Switch
 to toggle to Site.
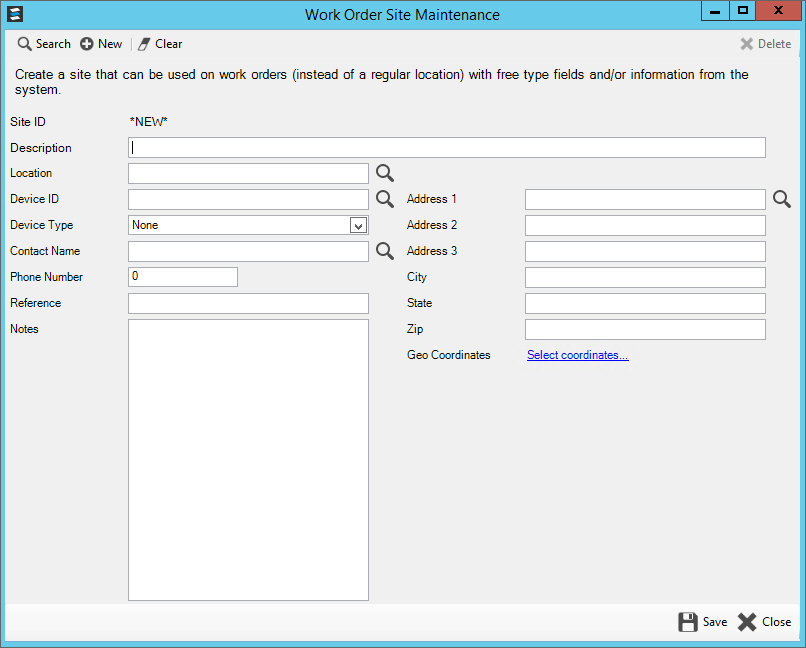
Site Maintenance
Use Site Maintenance to maintain information for sites, which are non-billable locations that have infrastructure to track. A site allows a location that contains infrastructure to have a work order created. Company owned assets can be attached to sites so that work orders can be created and work order tracked.
From Work Order Entry, click Site .
Note: If Location displays
instead of Site, click Switch
to toggle to Site.
Or, from Asset
Maintenance, click New  at the Site field.
Or, from the Service Management menu, click File Maintenance and then Work Order Site Maintenance.
Site Maintenance Window Example:
Site Maintenance Prompts
|
|
To create
a new site, click New Or, to look for a site, click Search |
|
Description |
Enter a description for the site. |
If the site
is also a location, enter the Location. Or, click Search |
|
Enter the device associated with the site. Or, click Search to find the device. |
|
To specify the device type, click a choice from the drop-down list. |
|
Contact Name |
Enter a contact name if there is a person associated with the site. |
Phone Number |
Enter a phone number if there is one associated with the site. |
Reference |
Enter a reference for the site. |
Address Line 1-3 City State Zip Code |
Enter up to 3 lines of address for the site. Enter the City, State and Zip code for the address. |
Enter GPS coordinates for the site. Or, click Select Coordinates to select from a longitude and latitude map. If mobile work orders are being used, the GPS coordinates of the mobile device are added or updated when a work order is completed for a site. |
|
Site Notes Use the notes section to add extended notes about the site. These notes can display in the Asset Management view as well as on associated work orders.
The following tools are available:
|
|
|
To complete your work, click
Save
To avoid losing data, you must save new or changed records. |
 .
From the list of sites select the desired site.
.
From the list of sites select the desired site.
 - To expand the
notes window for easier viewing click
- To expand the
notes window for easier viewing click  - Easily copy a
large block of text to another location by highlighting the
desired text and then clicking
- Easily copy a
large block of text to another location by highlighting the
desired text and then clicking  - Easily paste a block of text from another
source to the notes by clicking
- Easily paste a block of text from another
source to the notes by clicking  - Re-displays the notes from the last time they were saved
and clears all changes made since last save.
- Re-displays the notes from the last time they were saved
and clears all changes made since last save. -
Removes all notes currently displayed. After clicking
Clear, the following prompt displays:
-
Removes all notes currently displayed. After clicking
Clear, the following prompt displays: