Notes:
-
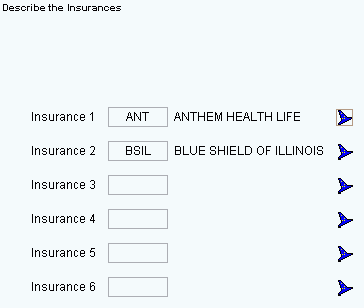
While the patient may have up to six insurances assigned to their account, insurances 4, 5 and 6 are informational only. They are not used during the billing process. Generally, insurances 4, 5 and 6 are reserved for insurances that had insured the patient, but are no longer in force (for example, maintain expired insurances here). To bill a charge to an insurance in insurance 4, 5 or 6, first move the insurance to insurance 1, 2 or 3.
-
To add or change insurances, you must click the Wizard
 icon next to the desired insurance number.
Tips:
-
To change the sequence of the insurances, drag the Insurance Code to a new position.
-
To remove an insurance, use the Patient Entry - Assigned Insurances Area.
-
To archive an insurance, use the Patient Entry - Assigned Insurances Area.
-
For general information about the Wizard menu, window layout, and navigation, see the Wizard - Introduction.
-
For more information about working with data in fields, see Data Entry Guidelines.
